
Scrap Wood Pumpkin Tutorial
Fall is the season of cozy sweaters, pumpkin spice, and warm, inviting home decor. But if you’ve ever browsed the aisles of a home store, you know how quickly seasonal decorations can add up in cost. That’s why I love a good DIY project that lets me create something festive without spending a fortune.
Today, I’m sharing one of my favorite fall crafts: a DIY Scrap Wood Pumpkin. Not only is this project simple and budget-friendly, but it’s also the perfect way to repurpose leftover wood you might already have sitting in your garage. The result? A rustic, farmhouse-inspired pumpkin that adds charm to your porch, mantle, or table centerpiece.
Supplies You Will Need:
- Scrap wood (2x4s, fence boards, pallets, or any leftover lumber)
- Hand saw, Miter saw, Table saw, etc. (tool used for wood cutting)
- Wood glue or nails/screws
- Paint or stain (orange, white, or natural wood tones)
- Paintbrushes
- Twine or ribbon (for the stem accent)
- A small stick (for the stem)
Step-by-step Tutorial:
Step 1: Gather Your Scrap Wood
To start, look through your garage for leftover wood pieces. Different widths and heights will add character to your pumpkin. I used one 2×8 piece of construction lumber for mine.
Step 2: Cut and Arrange
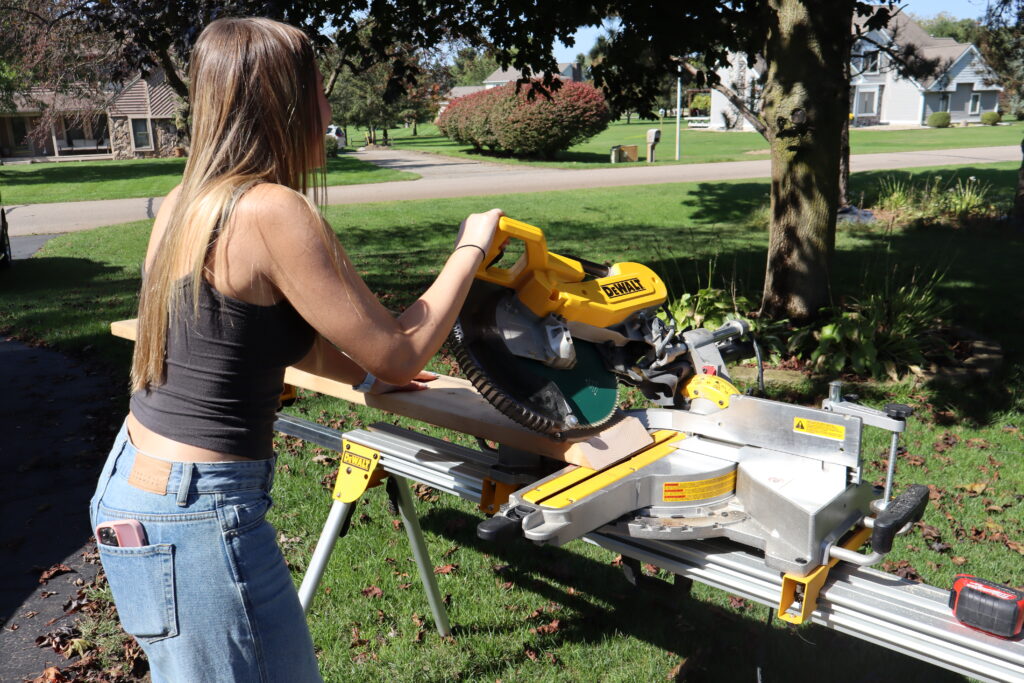
Cut your boards so they’re all about the same height. Stand the boards side by side and draw lines to establish the shape of your pumpkin. Proceed to cut the board on the lines you drew. Make sure you keep a straight edge on the bottom so your pumpkin can stand up!
Step 3: Paint or Stain
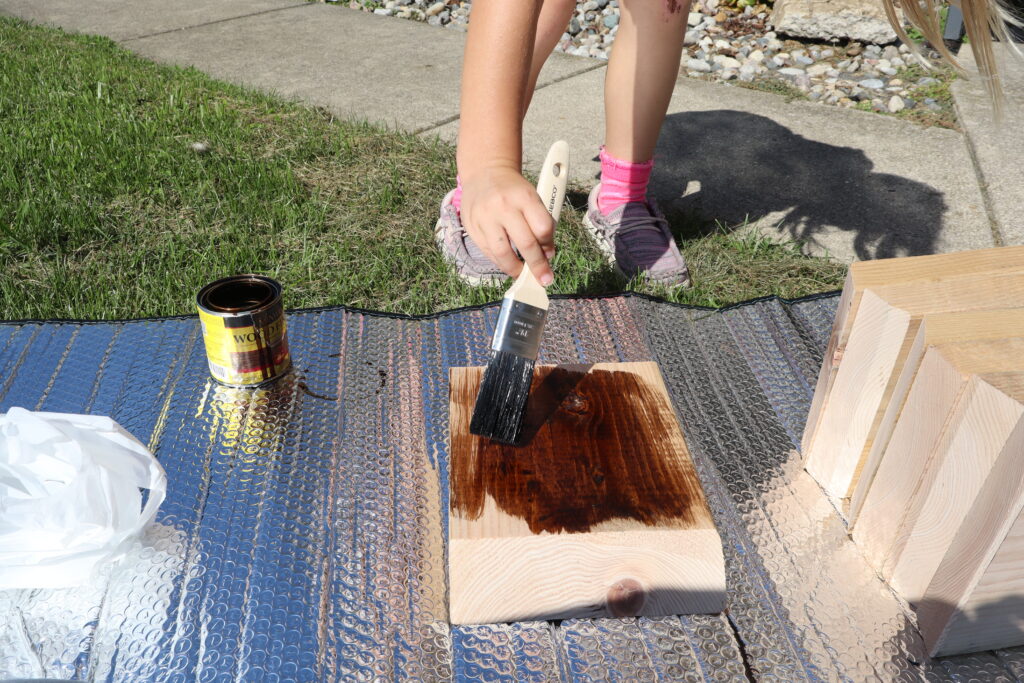
Now it’s time for some painting! Go classic with orange, keep it neutral with white or cream, or try a stained farmhouse look. Don’t worry about perfection; a slightly distressed finish gives it rustic charm. I chose two different types of wood stain (light and dark) to add some contrast. I also recommend using a gel-based stain because it is less messy.
Step 5: Attach the Boards
Next, secure the boards together using wood glue, nails, or screws from the back. For extra support, you can attach a small horizontal piece of wood across the back to keep everything stable.
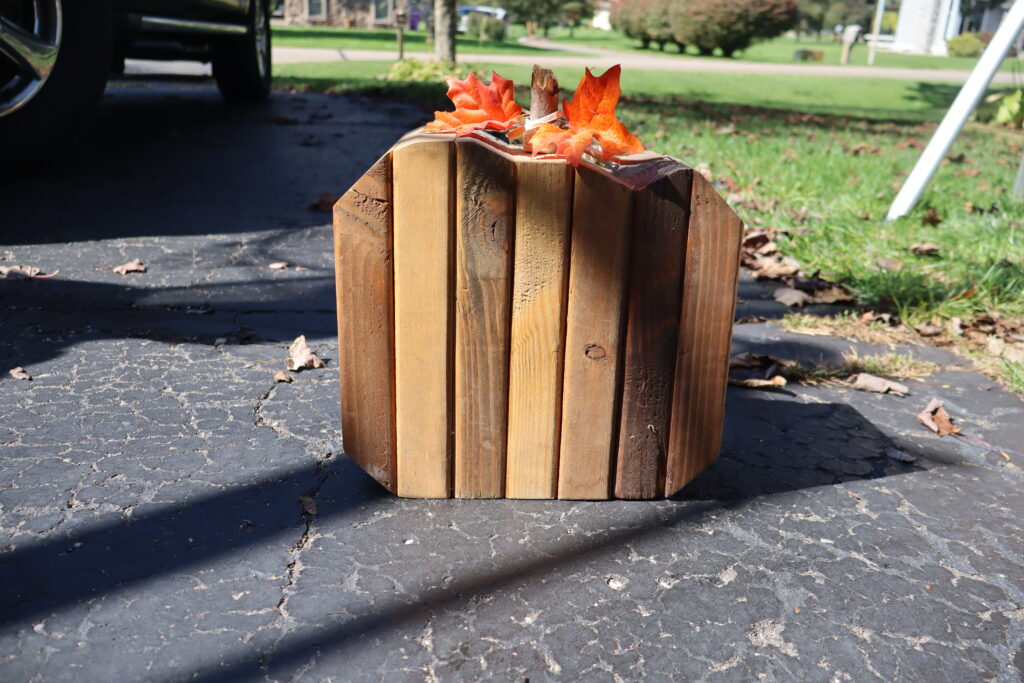
Step 6: Add a Stem
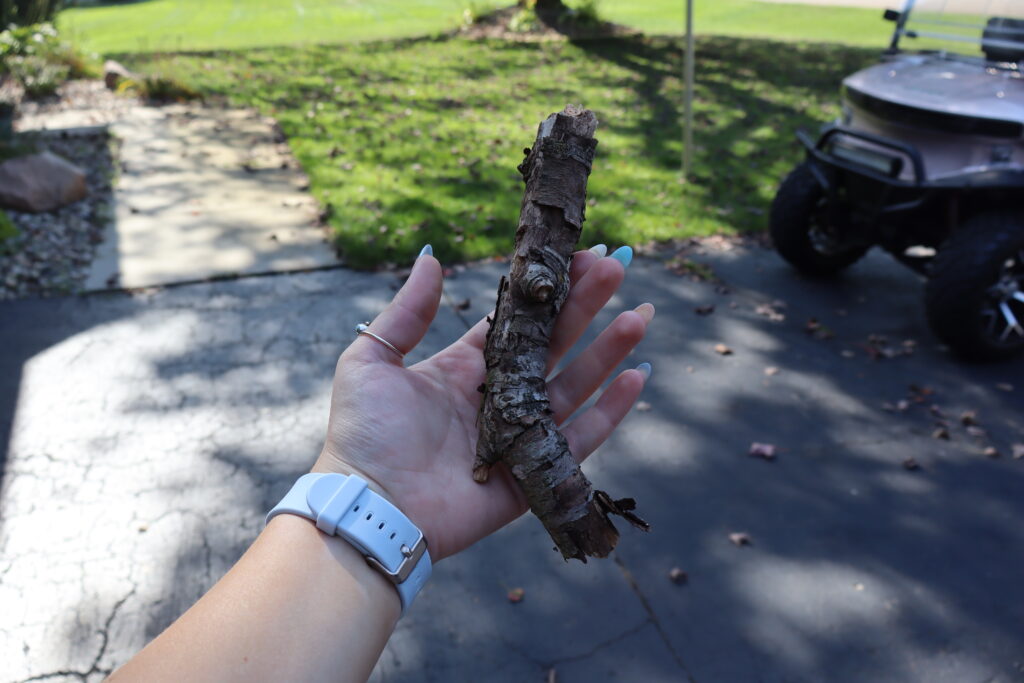
Glue or nail a short wood stick at the top center to create your pumpkin stem.
Step 7: Decorate
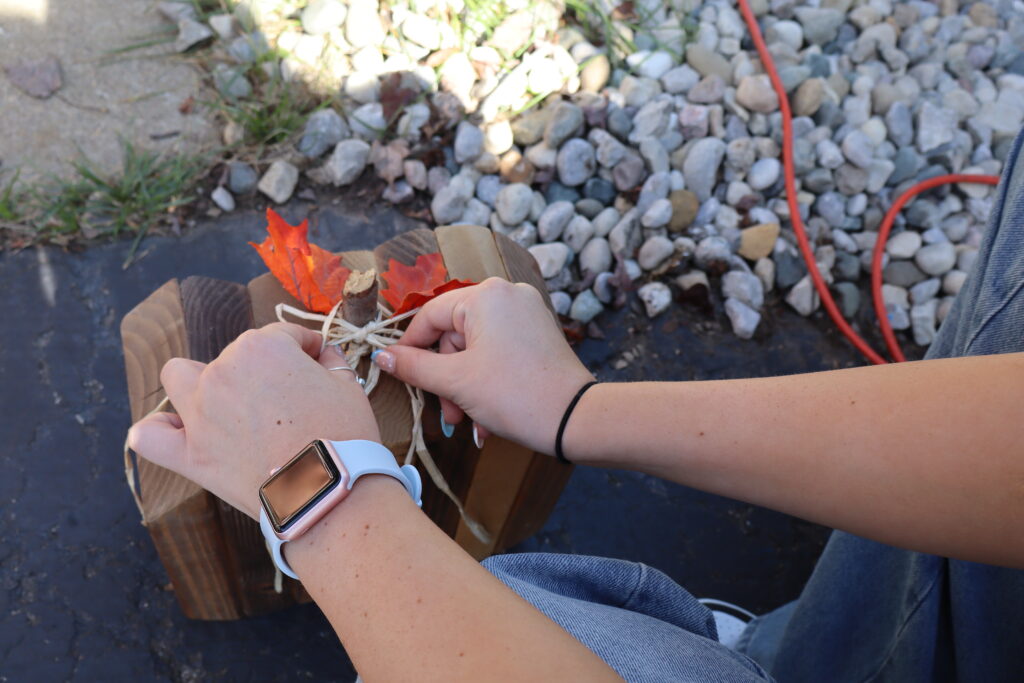
Lastly, wrap twine or ribbon around the stem for a finishing touch. You can also add stenciled letters (like “FALL” or “WELCOME”) or even hot glue on leaves for extra detail.
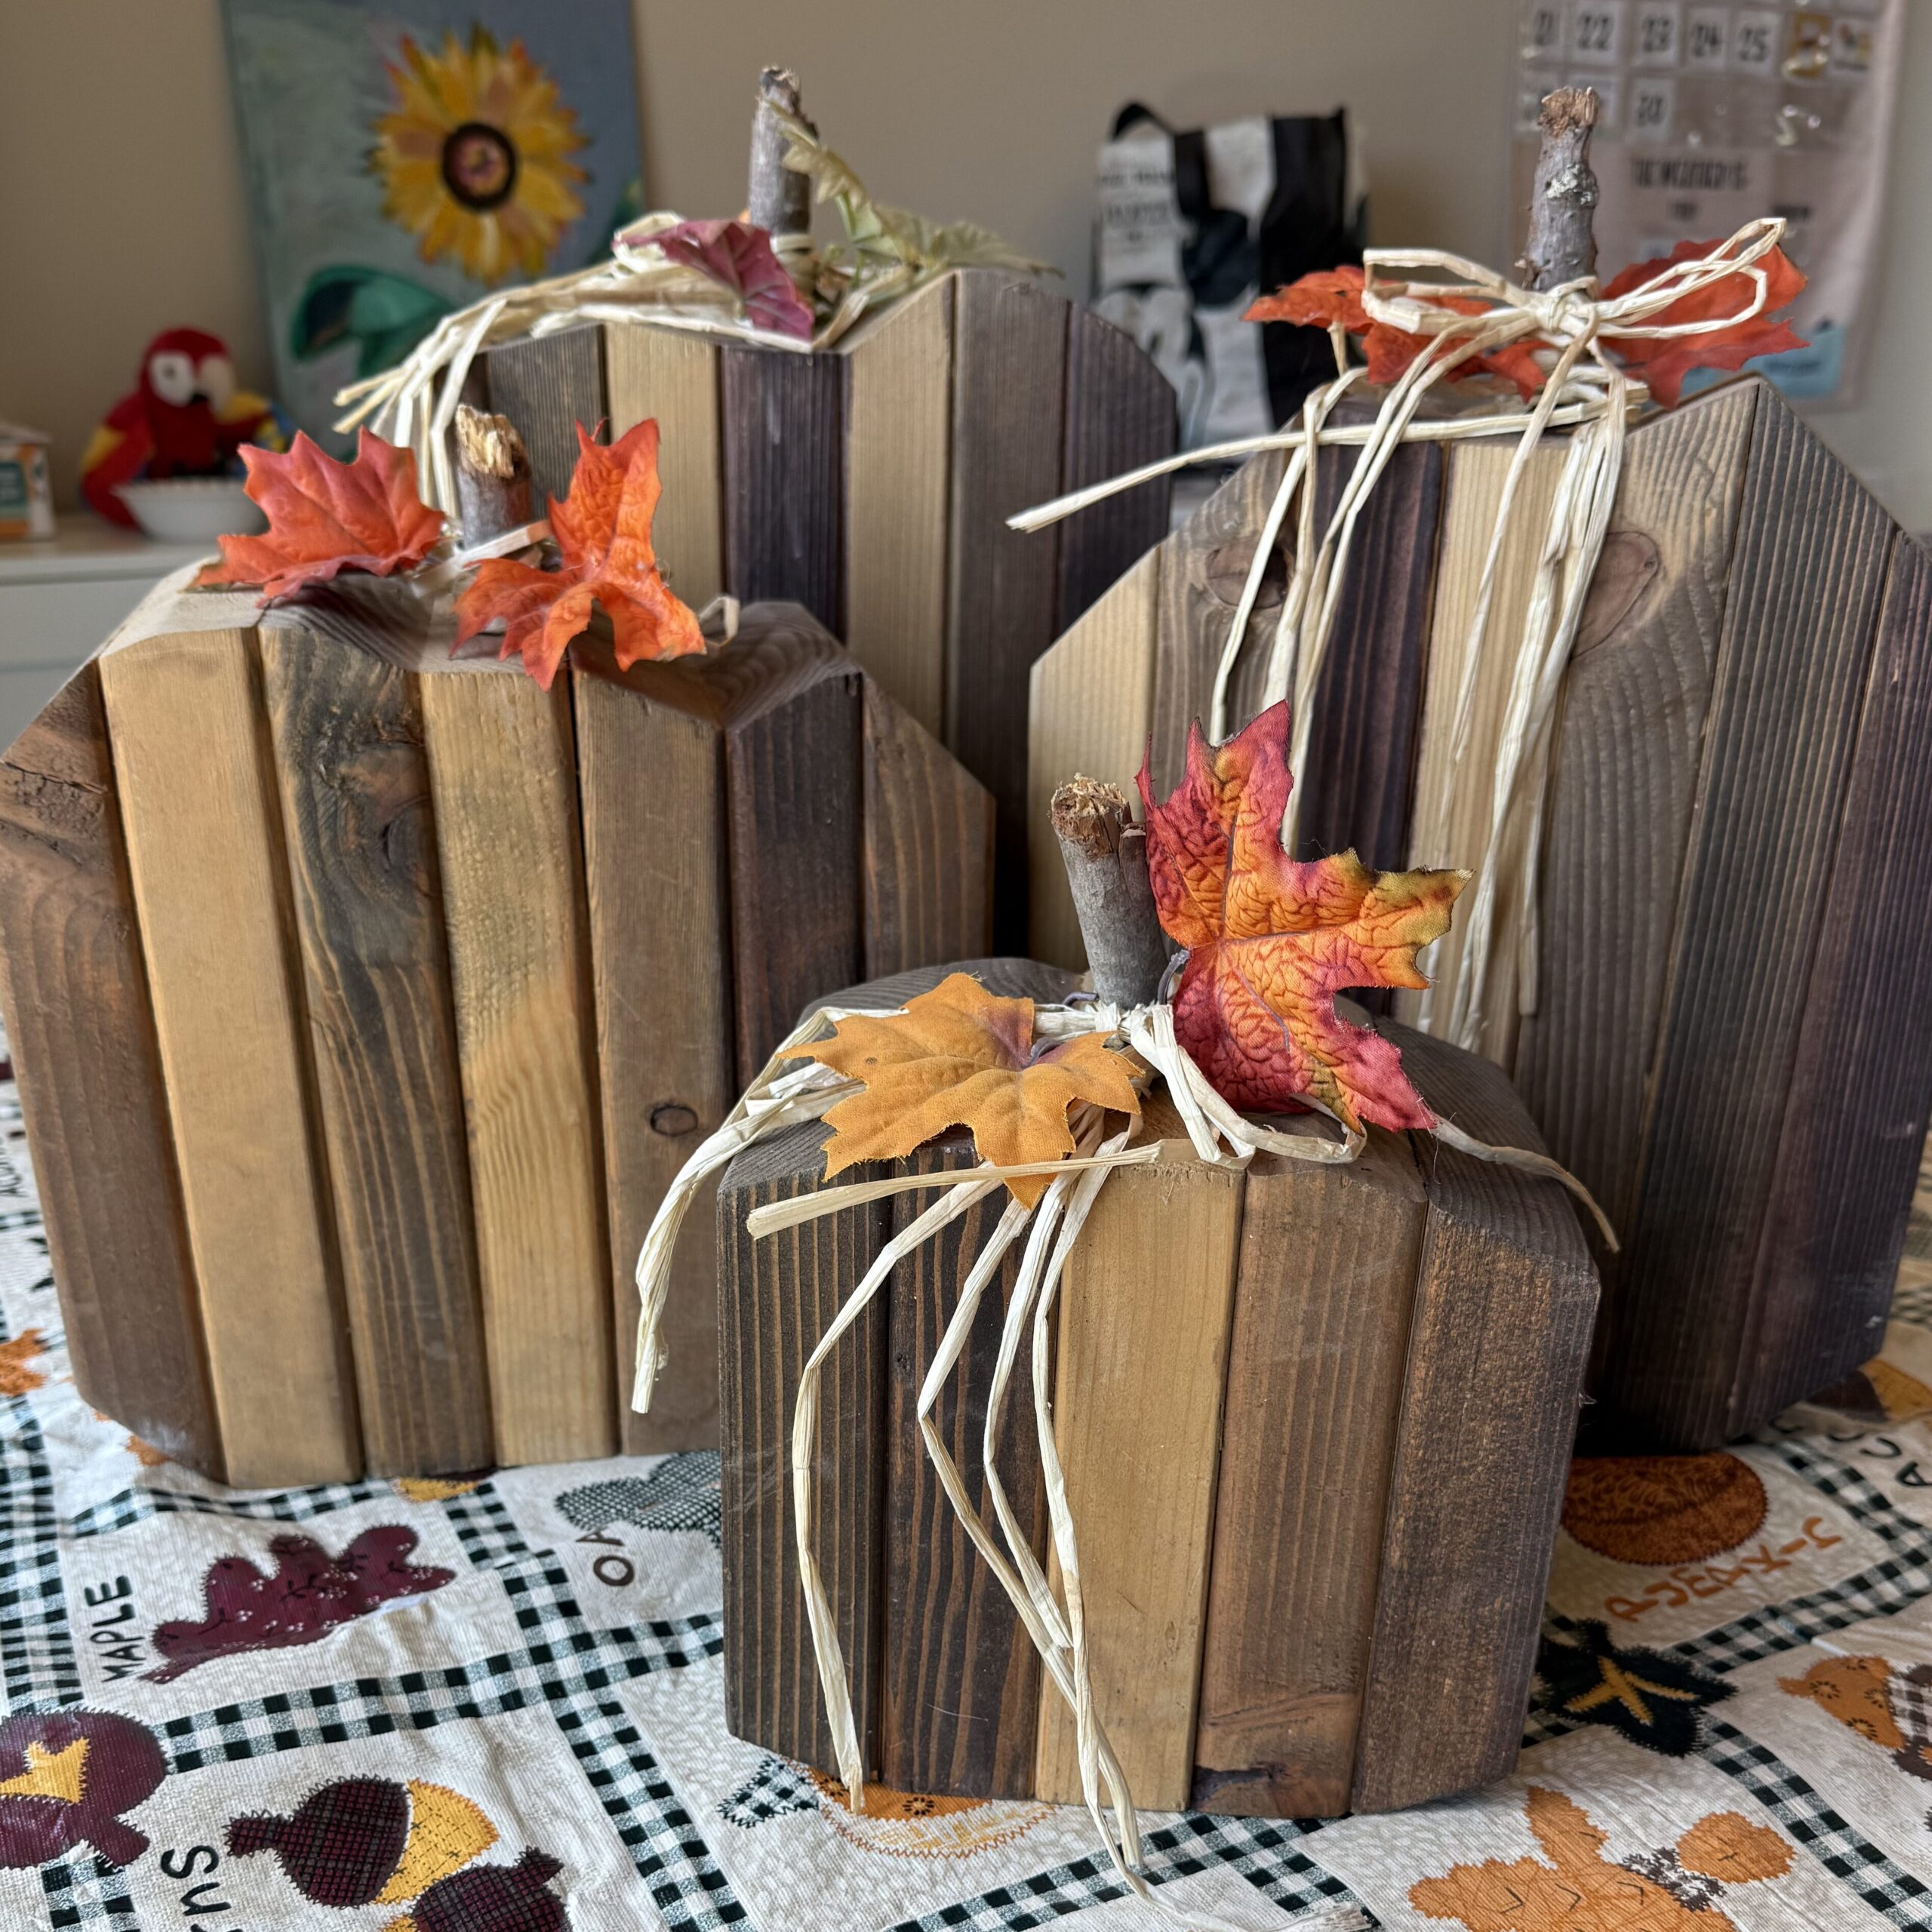
This DIY scrap wood pumpkin is proof that you don’t need to spend big to decorate beautifully for fall. With just a few tools and materials, you can create a timeless piece of decor that you’ll look forward to displaying year after year. Happy DIYing!